
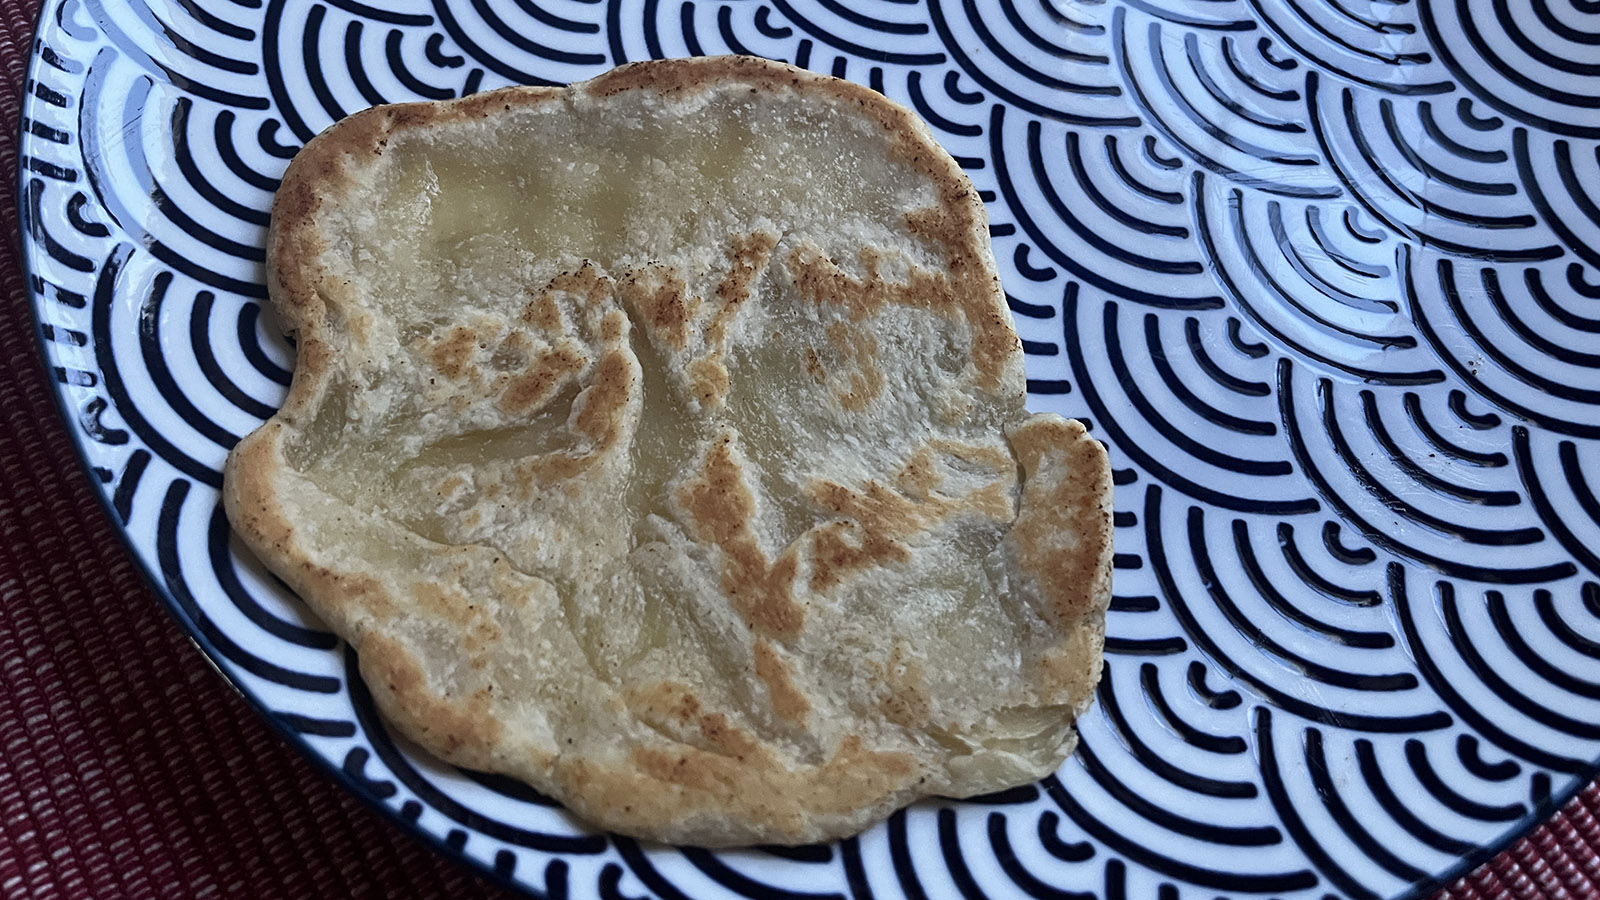
No-Knead Roti Bread Recipe
If you’ve been here before, you know I don’t like anything on my fingertips, which means kneading is a rarity. This is another bread recipe for those who don’t like getting their fingertips involved.
Making this no-knead roti bread recipe takes less than five minutes. I like to let it sit for 30 minutes (my bread making brain tells me I should) but I know my Dad has had great success cooking these roti straight away.
He also batch makes them to freeze some and says they taste just as good once defrosted and cooked.
This roti bread recipe can be made very quickly and easily, and I use a simple metal spoon to stir is vigorously, which makes it no-knead.
Serving Info
- Prep Time: 5 minutes
- Cooking Time: 2-4 minutes per roti
- Servings: 4
- Level: Easy

Kitchen Bits You’ll Need
The essential kitchen bits you’ll need to make these delicious rotis are:
- Measuring cups & spoons
- Mixing bowl
- Rolling pin
- Frying pan or tawa
- Flipper thingy
Ingredients You’ll Need

The amount of ingredients you need to make roti is minimal, so you can easily throw this together when you’re in a hurry and want a quick tasty something for lunch.
Butter
This is what I use to add that delicious buttery taste to my roti breads.
Boiling Water
Used to help bind everything together.
Flour
I use regular all-purpose flour, and it has never disappointed.
Salt
I add a small dash but if you are using salted butter, you might want to leave out the salt.
Specific Ingredient Amounts
- 1.5 tablespoons butter
- 4 tablespoons water, hot from the kettle
- 1 cup plain / all-purpose flour
- Salt to taste
Substitutions To Consider
Butter: If you’re avoiding animal products, then you could substitute the butter for a neutral oil. I have not tested the ratio needed though.
Making The Quick & Easy Roti Bread Recipe
This really is a super-fast process, so make sure that you have your accompanying dishes ready before cooking the roti breads!
Step 1: Start by melting the butter in the boiling water. If your water is not hot enough, put both in a microwave friendly container and heat for 30 seconds until the butter has melted into the water.
Step 2: Place the flour and salt in a bowl, and make a well in the middle.
Step 3: Add the butter water and use a metal spoon to combine. When it comes together, it’ll look a little shiny, that’s the butter giving is a glisten.


Step 4: Continue to mix it with the spoon (unless you like kneading, then totally up to you to go for it). When everything is well combined, cover the bowl with a towel and leave for 30 minutes.

Step 5: When you’re ready to eat, divide the roti dough into four equal pieces. You have two options now.

Step 6: The first is to use your palms to flatten the roti dough, and then your fingers to shape it into a circle. This results in a thicker – and to me – tastier roti bread.
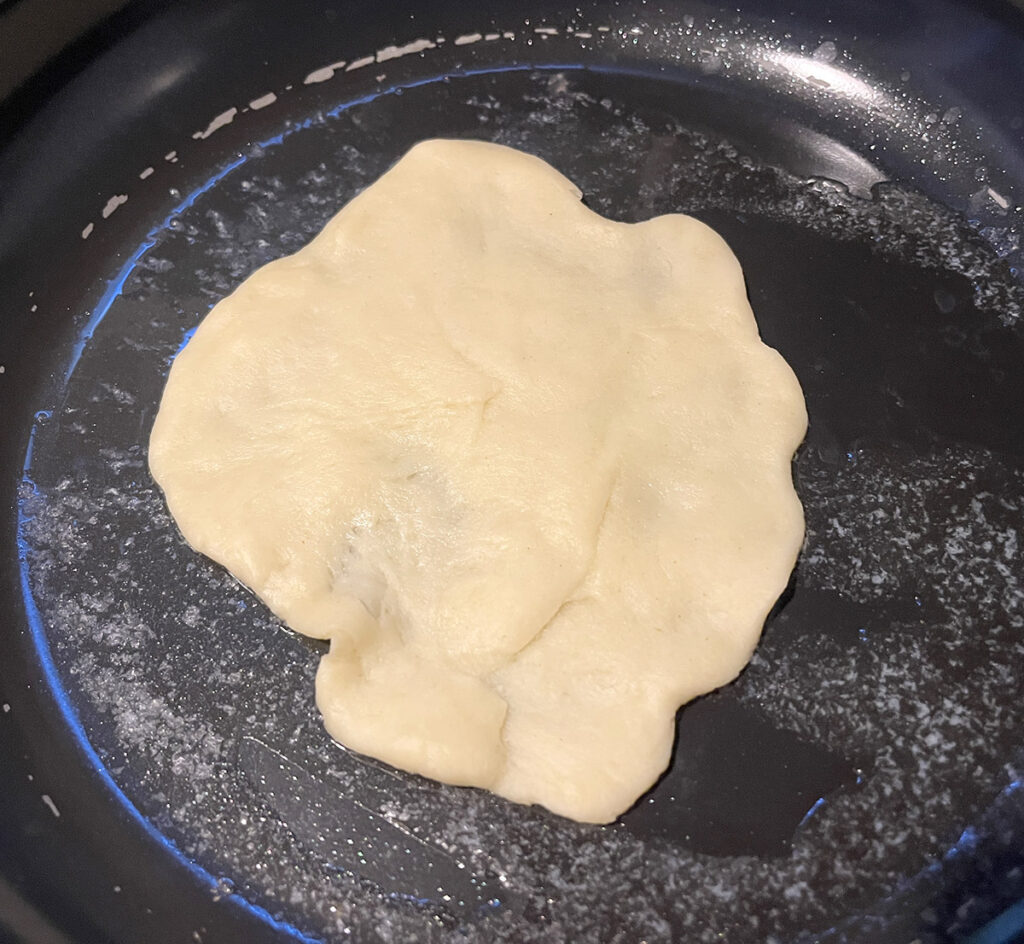
Step 7: The second is to roll them out with a rolling pin. Make sure to use a floured surface so that they don’t stick! This is a great way to get thinner and larger roti, but they feel and taste more like a dry chapati than a buttery roti.
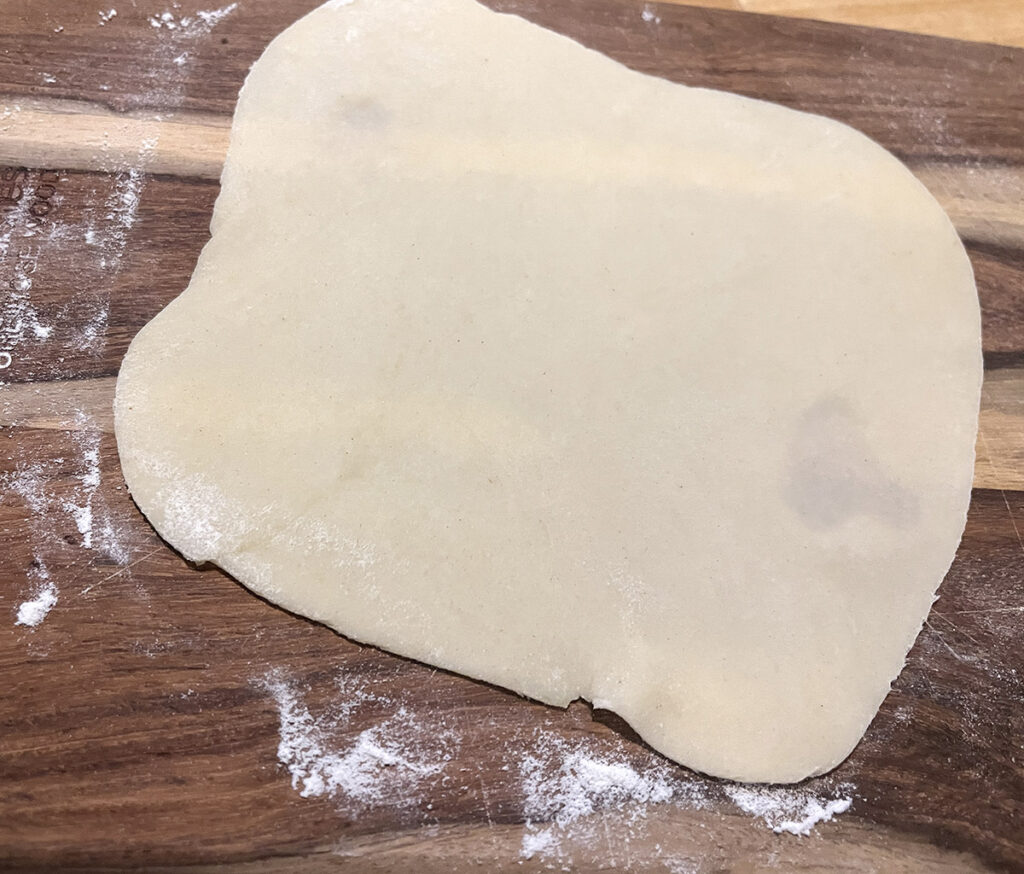
Step 8: When you’re ready to cook them, add a smidgen of butter to a pan and melt it. Add the first roti and cook until it bubbles, then flip the roti and cook the other side. The photo below is using the method from step 6.
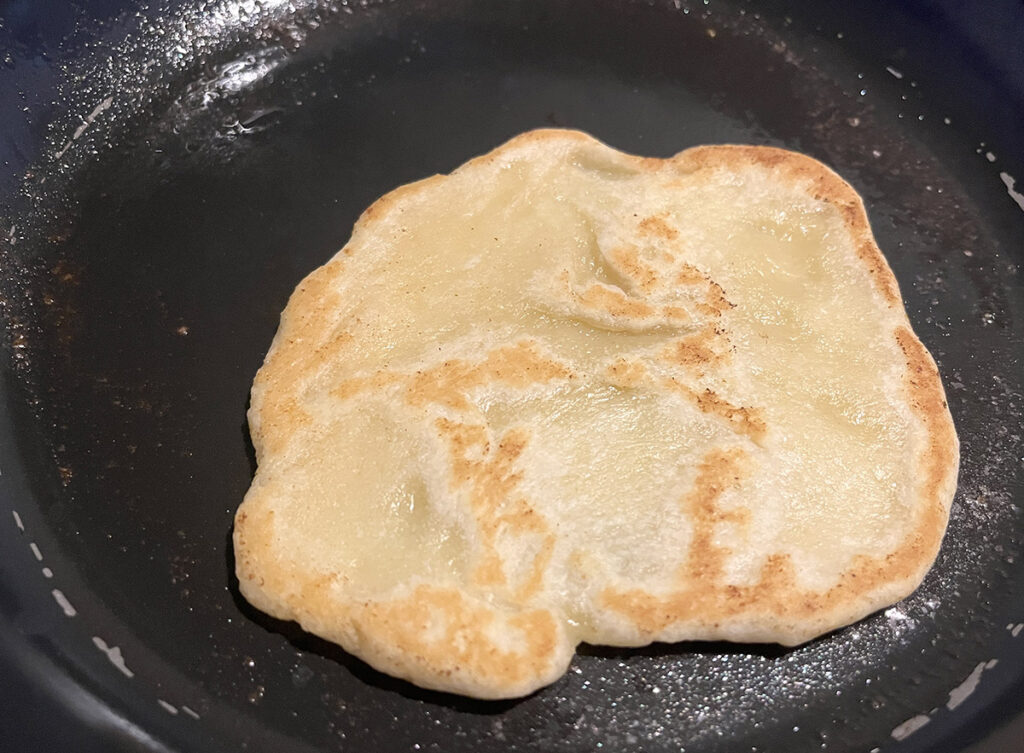
And the photos below are the version using the rolling pin in Step 7. These ‘bubbled’ in a different way to the first version.
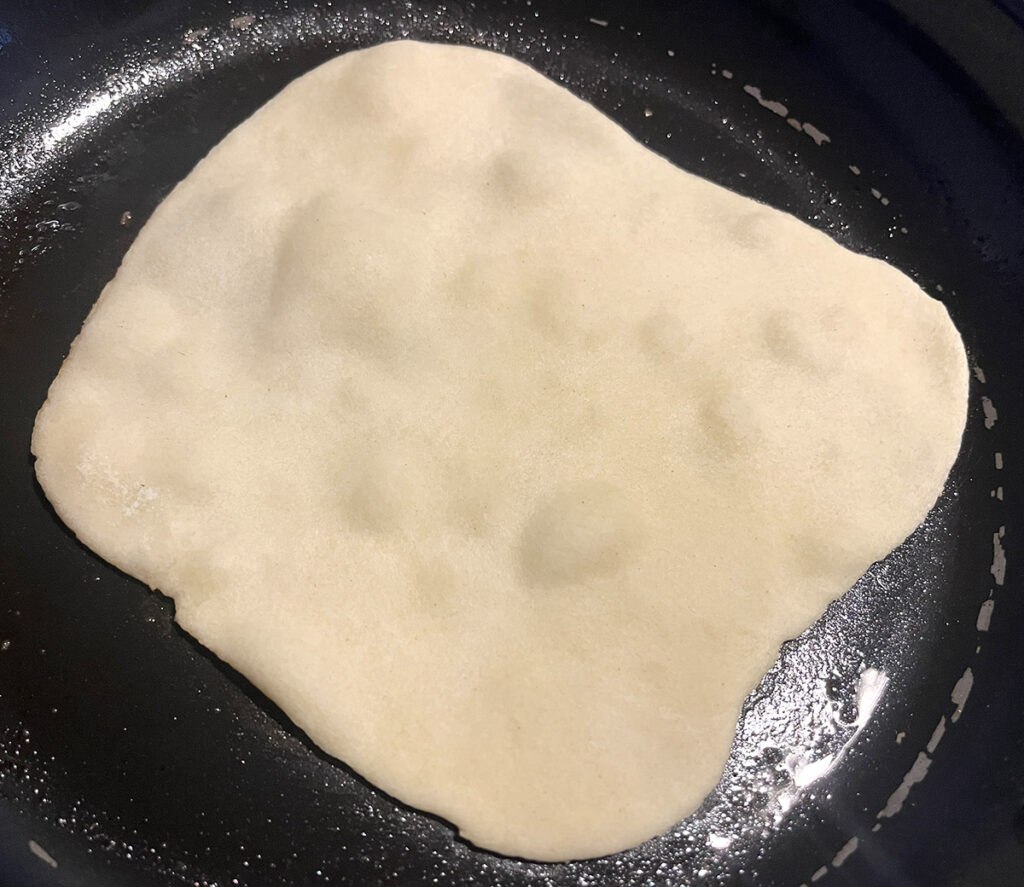
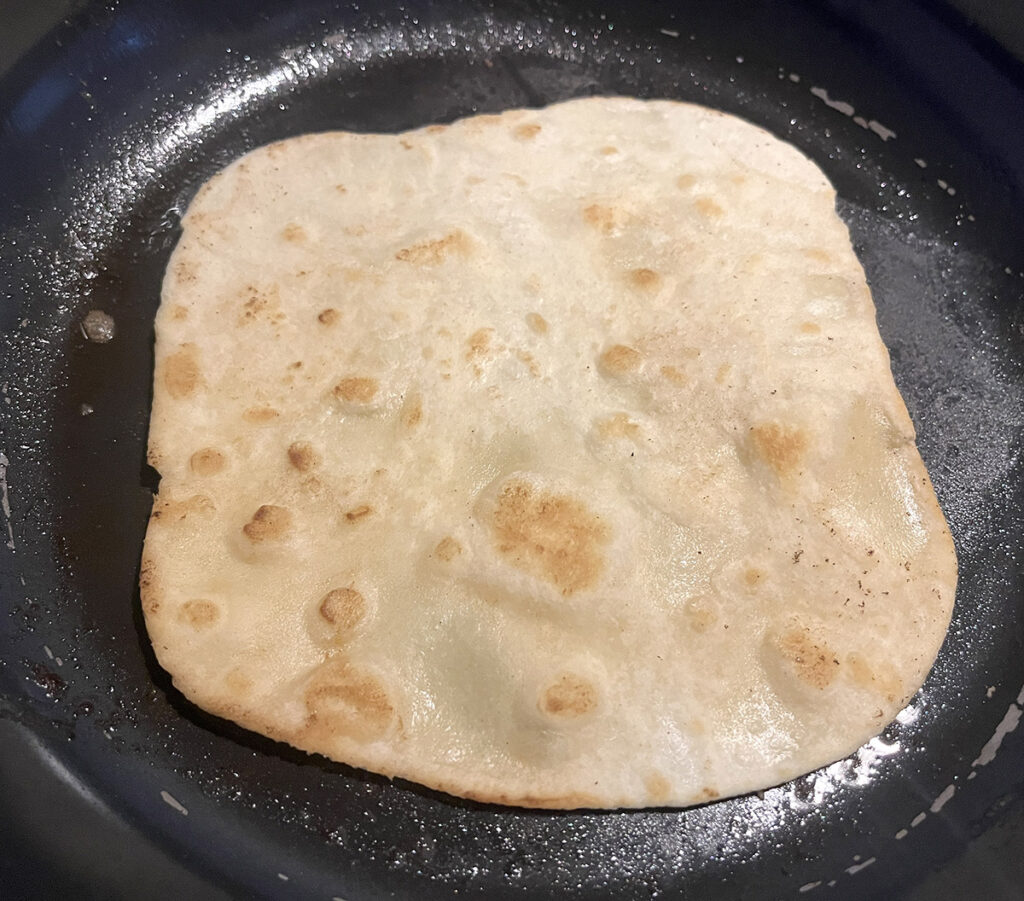
Step 9: Once cooked, set onto a warm plate and cook the remaining roti breads. Below is a side by side comparison of the two flattening methods. We both much preferred the consistency of the more ‘rustic’ version on the left, though the thinner version on the right was better for scooping up the curry!
Serve Your Fresh Roti Breads With…
My tasty butternut and lentil curry! This is a winning combination, and so easy to make.

You could also change up your roti bread by adding in other ingredients to the flour before adding the liquid mix. I’ll report back when I make another variation!
This is the most delicious roti bread recipe I’ve made (I have other flat bread recipes you can try too if you’re not convinced by this one) and would love to hear what you think when you’ve made them!


